Can't believe it took so long to decorate the craftroom! I had even forgotten all my passwords etc for loading this post! Well I did have a new granddaughter Heidi Barbara Ann, finished a quilt, knitted baby clothes and two cardigans for myself, started a Christmas patchwork runner for the table, kept working, redecorated the dining end of the kitchen - ok, I'm stretching the truth a bit here, but I did keep dear Hubby supplied with refreshments while he did it, went up North to watch the Tour, explored Chatsworth, saw the poppies at the Tower, kept working, did the Beatles tour in Liverpool, had a short break in Cornwall with my dearest friend, kept working oh yes and kept working!
It is so good to be back playing again, here are a few photos of the newly organised craftroom!
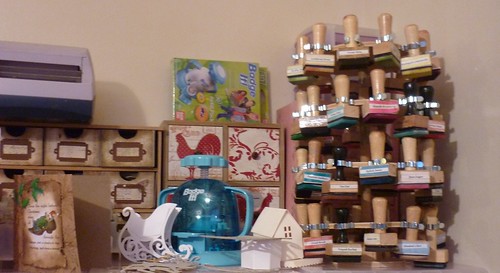
One Christmas card made, santas sleigh on a dummy run! Ink pads to the ready.
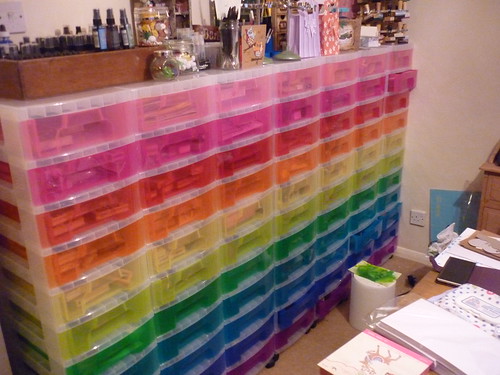
I love my rainbow towers! Can't find anything yet as labels not on but everything is in there!
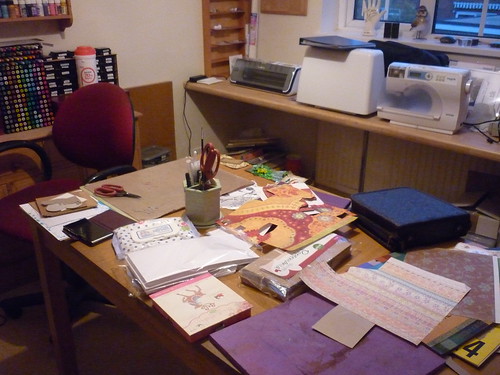
Machines out on the work top. I used to work on a tiny ten inch square of this it got covered in so much! My table top is under siege but I did have four new crafters on Saturday trying it out!
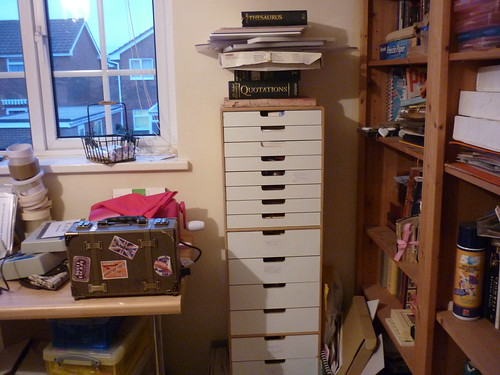
Papers sorted, vagabond at attention, bookshelves cleared of things I will never read again, but full up already!
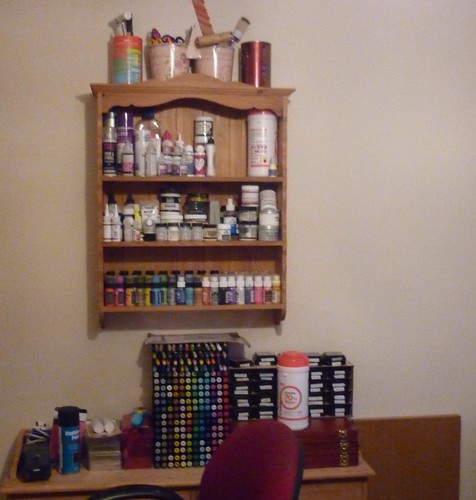
Colour and medium graded. Whoopeee!
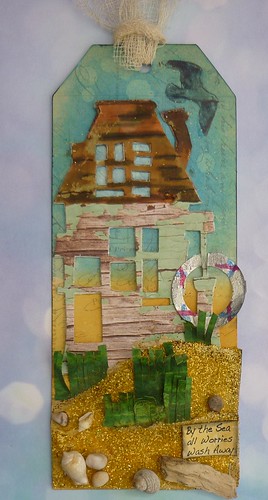
Now for some work. I have made a fun stamp for Hels Sunday Stamper, the theme is anything Sewing and stitches.
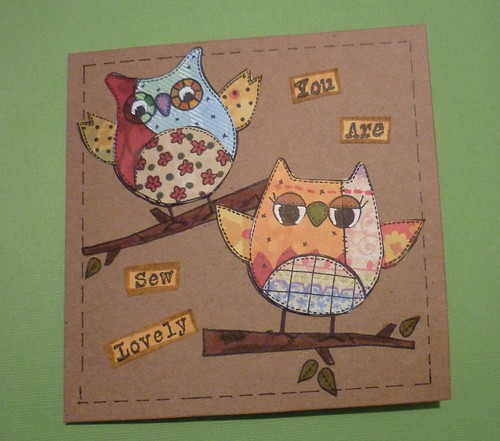
To get me going again I did something simples, and stamped out two patchwork owls and then pieced them with different papers. I got the set some time ago out of a stamping magazine and hadn't used them. Put some faux stitched around and cut up a sentiment from another set. Inky fingers again, loverly! Sometimes simples does it for me. Think my dear friend will be receiving this one!
Thank you if you have called by, I shall post again soon. I went to the NEC on Friday and brought a lovely stamp set for Christmas, so I will show you those!
Goodbye for now from one happy crafter. x